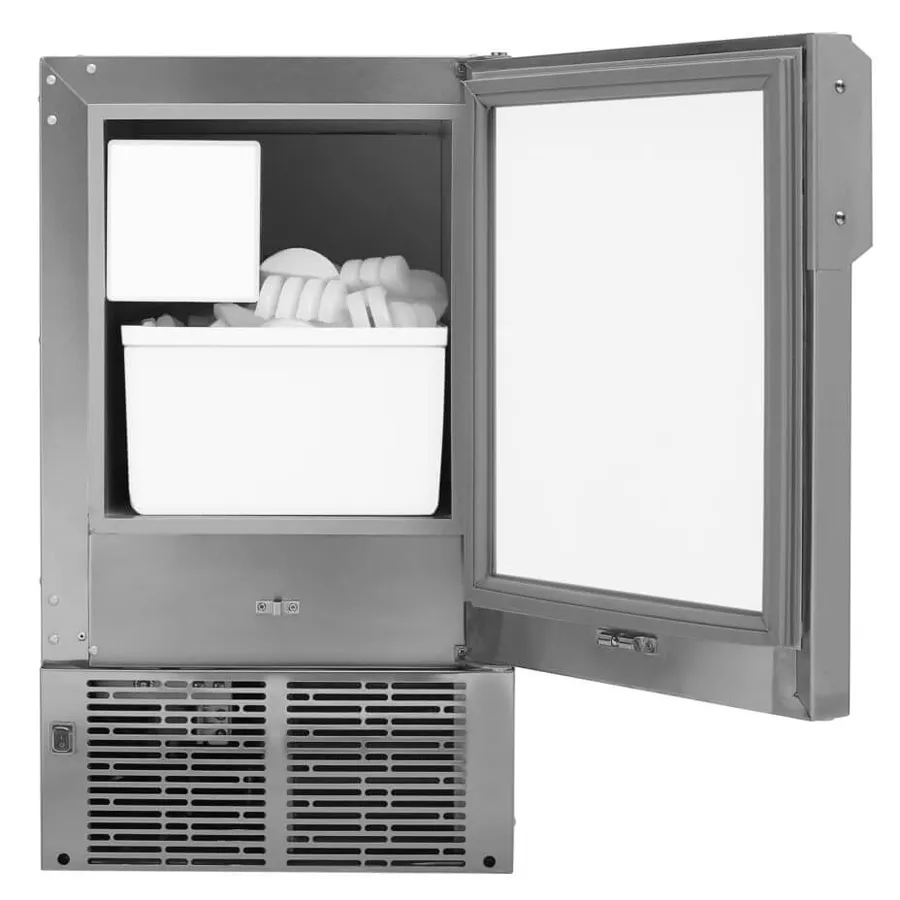
Ice Maker Cleaning – To keep it working well and prevent any possible health dangers, it is vital to ensure that your portable ice maker is well maintained. If you want your ice maker to last as long as possible and make sure the ice you make is safe to eat, you should clean it often.
Signs You Need to Clean Your Ice Maker

- Unpleasant Taste or Odor: If your ice has an undesirable taste or odor, it might be a sign that your ice maker needs cleaning.
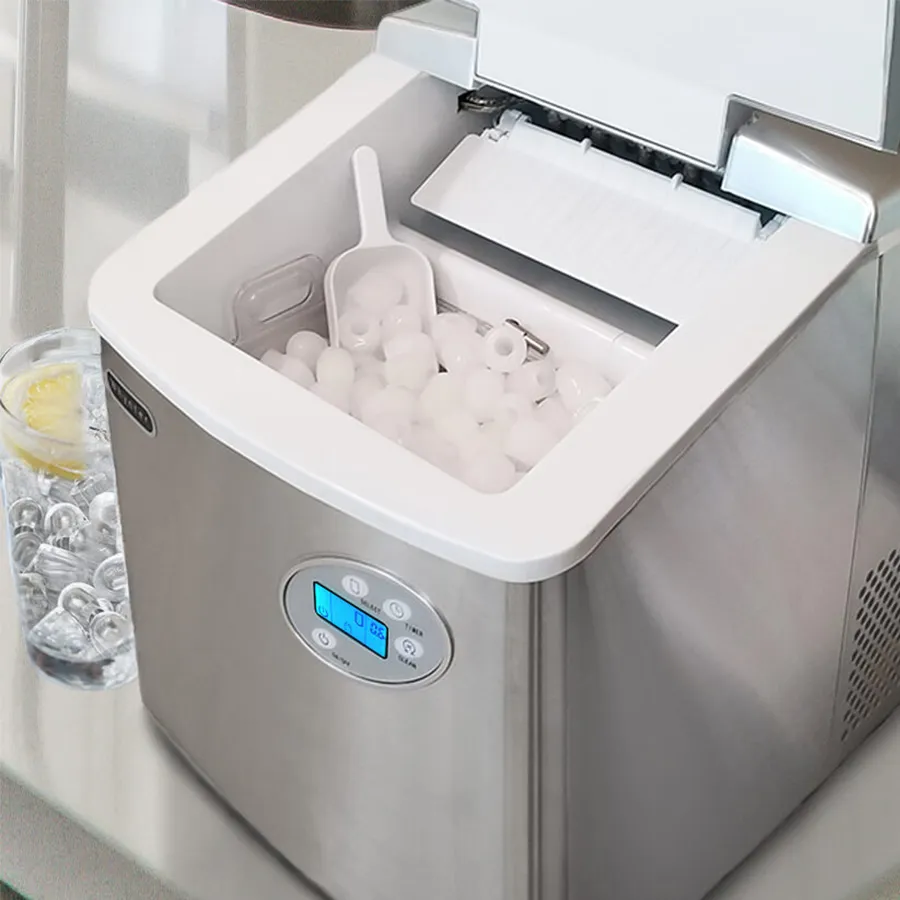
- Smaller Than Normal Ice Cubes: Noticeably smaller ice cubes could be an indication that your ice maker is due for a cleaning.
- Softer and Faster Melting Ice: If the ice feels softer and melts more rapidly than usual, it’s time to address potential cleanliness issues with your ice maker.
- Cloudy Ice Appearance: Cloudy ice cubes suggest the presence of impurities, signaling the need for a thorough cleaning of your ice maker.
- Visible Mold, Mildew, or Debris: If you observe any mold, mildew, or debris inside the ice machine, it’s crucial to clean it promptly to ensure the production of clean and safe ice.
- Elapsed Cleaning Interval: If six months or more have passed since your last ice maker cleaning, it’s advisable to schedule a maintenance session to keep your ice maker in optimal condition.
How to Clean Ice Maker at Home – DIY
Method 1 – Manual Ice Maker Cleaning Method:
Step 1: Prepare the Cleaning Solution
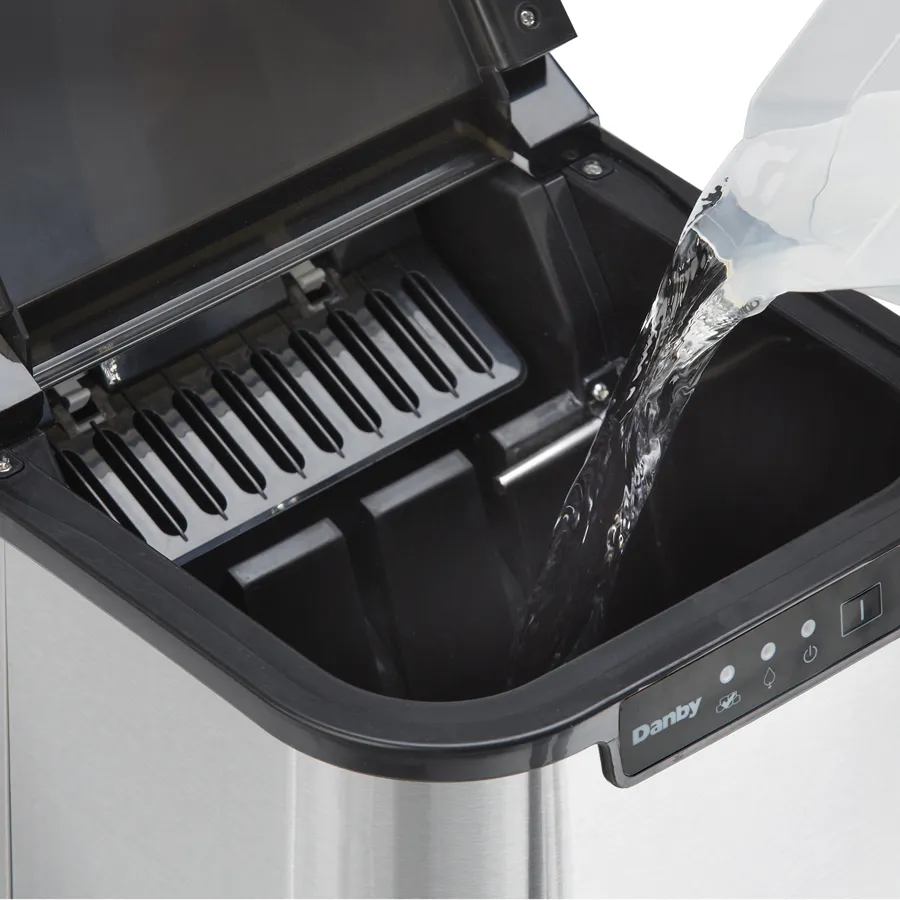
Prepare the Cleaning Solution To manually clean your portable ice maker, mix equal parts water and vinegar to create a 1:1 cleaning solution. Vinegar is an effective natural cleaner that helps eliminate mineral deposits and bacteria from the ice maker.
Step 2: Run and Discard the First Batch of Ice Cubes
Run the Ice Maker Pour the cleaning solution into the water reservoir of the ice maker. Start the machine as you normally would, allowing it to produce ice. It is essential to discard the first batch of ice cubes to ensure any residual cleaning solution is eliminated.
Step 3:Drain the Reservoir
Manually drain the water reservoir to remove any remaining cleaning solution. This step helps prevent the taste of vinegar from affecting the quality of the ice produced.
Step 4: Rinse and Repeat
Rinse and Repeat Run the ice maker at least three more times, using clean water each time to flush out any remaining traces of vinegar. Discard the ice cubes produced during these cycles to guarantee a clean and refreshing ice supply.
Method 2 – Ice Maker Self-Cleaning Method:

Step 1: Utilize the Self-Cleaning Mode
Many portable ice makers come equipped with a self-cleaning mode for added convenience. To initiate this mode, prepare the 1:1 water and vinegar solution and pour it into the water reservoir.
Step 2: Activate Self-Cleaning Mode
Follow the manufacturer’s instructions to activate the self-cleaning mode on your ice maker. Allow the appliance to run through the self-cleaning cycle, during which the cleaning solution will circulate through the system, effectively removing impurities and build-ups.
Step 3: Rinse Cycle
After completing the self-cleaning cycle, initiate a rinse cycle under the self-cleaning mode. This step ensures that any remaining cleaning solution is thoroughly washed away, leaving your portable ice maker pristine and ready for use.
Tips for Long-Term Care For Your Ice Makers
A few things to remember for the long term regarding the maintenance and avoidance of problems with your portable ice maker. To start, to keep the ice’s quality intact, you should only ever use clean water when producing it. To keep the unit running at its best and avoid mineral buildup, descaling regularly is also essential. By taking this preventative maintenance method, you can keep your ice maker in top shape for many years without having to spend a fortune on repairs.
- Use clean water for ice making to prevent impurities.
- Regular use of auto Self-Cleaning to descaling prevents mineral buildup and maintains performance.
- This proactive approach to maintenance can prevent costly repairs down the line.